
Decorative Wall Moulding Tutorial & Drama Tween Bedroom Update
You may know that I'm in the midst of a big makeover for my teen daughters bedroom. She's a very lucky little lady, and she's going to end up with a bedroom that a lot of grown-ups will envy. Quite possibly including me.
Like all good things, it's taking longer than anticipated, and I'm waiting on a few things and need to make a couple of decisions still, but the room should be complete within the next four weeks. Here's the mood board again incase you've forgotten!

The starting point for the design of the room was a wallpaper by the fabulous Drop It Modern, called Kitten, that Edie and I both adore. I had actually considered it for my studio makeover last year, but ended up going in a different direction, but I guess it was inevitable that it would eventually end up in the house somewhere!
I also wanted to include decorative moulding in the room, and decided to go with quite a thick moulding to act as big frames, and have the wallpaper inside them.

I've put the moulding on one wall only (for now - I may eventually add moulding to the other three walls too), where her new double bed will go, with a large box in the middle (directly behind the bed), flanked by a tall thin one either side. The wallpaper will go inside all three boxes, and maybe the box above the door too, but I'm undecided on that right now, and I'll make that decision once the wallpaper is up in the big frames.

If you follow me on Instagram, you might have seen a bit of the process of putting the moulding up, which was also slower than anticipated (isn't it always!?) for a few reasons. One is that I'm incredibly impatient. Two is that the wall where the moulding was going is super wonky! So unlike my very straight-forward decorative moulding in the newer part of the house last year, this was way more time consuming and definitely not a job I could do on my own. It required more than just my trusty Mega-Bond to hold the moulding to the wall - it needed nails too. So I had to wait until my husband could help me, then because of the nails, more filling was required, then a spot prime over the wood filler, before I could finally paint.

I'd not intended to do a tutorial for the moulding, so didn't take suitable pictures to illustrate it (yes, I know, bad blogger!), but I've had loads of requests, so I'll outline the steps below...
You will need:
Mitre saw
Eye protection
Tape Measure
Pencil
Moulding
Megabond or similar strong adhesive, and skeleton gun
Stanley Knife
Panel pins
Hammer
Caulk
Cup and water
Kitchen Roll
Nail Set
Wood Filler
Primer
Filling Knife
Sprit Level
Eggshell and Matt Paint
1. Decide on your design / sizes of boxes before ordering your moulding / decorative trim. Most suppliers will have it in 2.4 metre lengths, and I find that anything longer is just too long to handle for me, unless you're able to work in a huge open space, or outside.
2. I have left a gap of 8cms between boxes, from the corners of the room, above the skirting, and below the cornicing. There's no dado rail in the room and I didn't want to add one because I'm adding wallpaper and wanted it uninterrupted. You may want to research what's historically correct (or just do what you like the look of!).
Figure out the lengths required for each piece and make your cuts. Make sure you have your 45 degree angles facing the right way!
If you're a mitre saw novice you'll probably make a few frustrating errors, so make sure you order slightly more trim than required. This will require a fair bit of re-setting your saw as you want to make all your cuts with the flat side of the moulding down, so that it doesn't move when making your cuts and that you get a nice clean cut.
3. It's helpful to mark the backs of the pieces as you go, so maybe number your boxes and then each piece, so top, bottom, left and right.
4. If you have nice new flat walls, and are using a lighter weight, thinner moulding, you might get away with using adhesive only like I did with thin flat stripwood in my TV room. If you can you'll save a fair bit of time, but otherwise you'll need to use adhesive and panel pins to hold each piece in place. You'll know immediately if you're going to need both by holding the piece in place. If it needs to bend more than a tiny bit to sit flat on the wall, you're going to need nails too otherwise it probably won't stay put while the adhesive dries.
5. Getting the first piece up onto the wall is always the scariest, but you'll get the hang of it pretty quickly. If your walls are really wonky like mine, you may have to go back and re-cut some pieces, even if they're technically the correct length. Be generous with the adhesive, but not so much that it squeezes out the sides when you press down.
6. Make sure each piece is straight using your sprit level, and also nicely in line with the adjacent box as you go. You'll have a little bit of time for sliding each piece around a bit so that they fit together nicely.
7. If you need to use panel pins you'll need an assistant, or unwilling husband to help hold in place or administer the nails.
8. Once all your moulding is up and the adhesive is fully dry, you'll need to countersink the nailheads with a Nail Set, then fill each hole with wood filler. Once dry, sand smooth.
9. Use caulk to fill the corners and inner and outer sides of each box. This is time consuming, but really worth it for a professional, neat finish. And it hides a multitude of sins. You'll need to run a wet finger over the caulk to remove any excess and get a nice smooth finish, so that's what the cup, water and kitchen roll is for - it can get messy.
10. Spot prime the wood filler.
11. When everything is totally dry, it's time to paint. In Edie's room I've used an eggshell finish on the moulding itself and a matt finish on the walls, in the same colour.


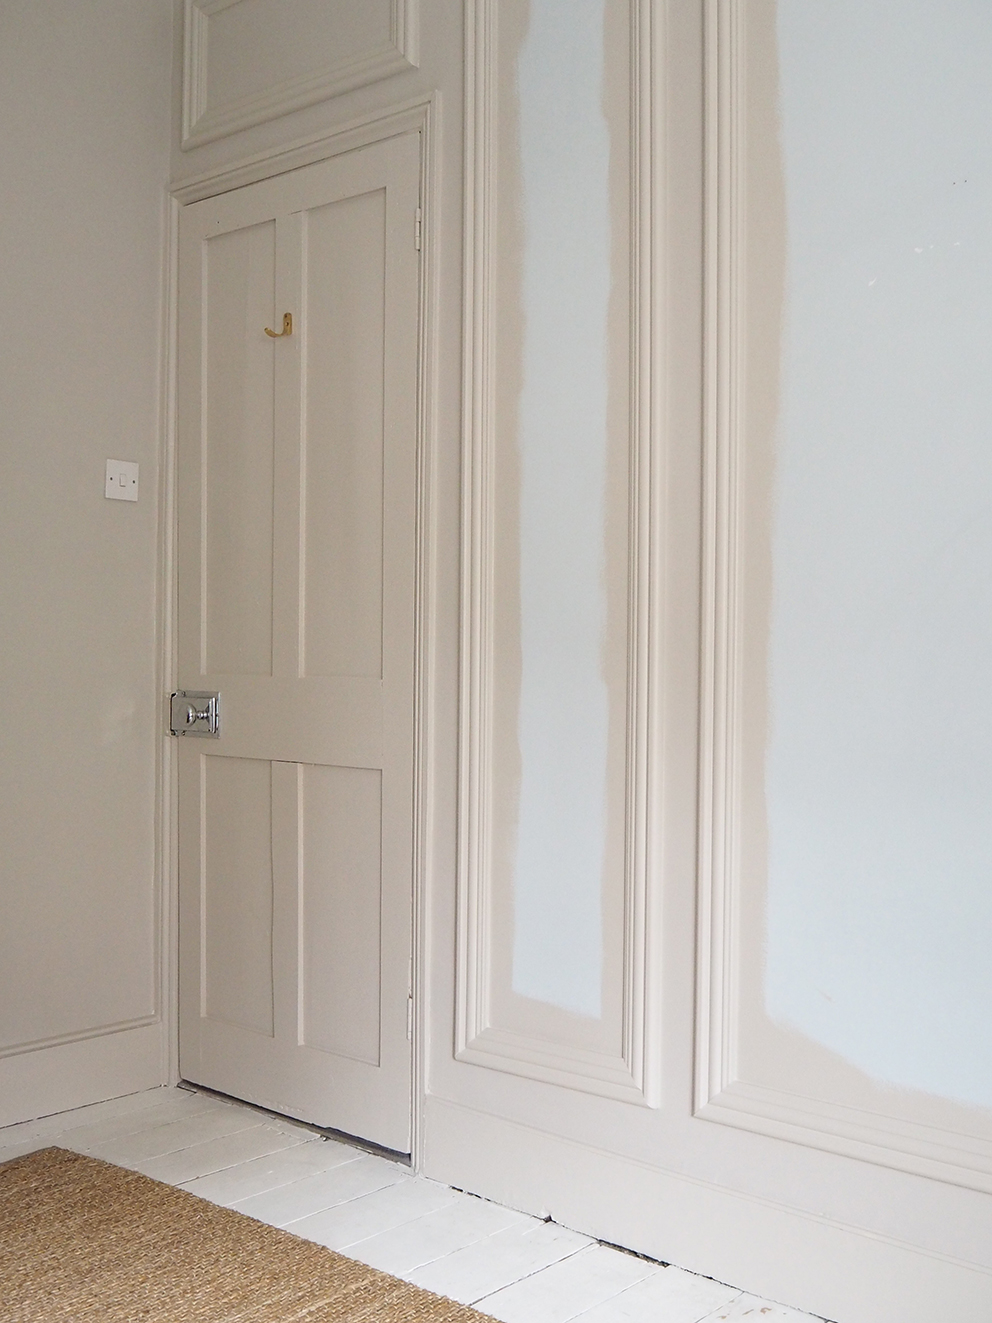
The moulding I used is from Skirting4u who had rather perfect timing, getting in touch with me, just as I was in need of some thick moulding. It's actually intended to be used as Dado rail, and is 7cms wide. This particular shape is Antique 2. Anything much thinner would not have held it's own next to the bold wallpaper, so this really was the perfect choice.
They also have a pre-primed option, which saves SO much time. Prep is definitely my least favourite part of the process of a big room makeover, so only having to spot prime where I'd filled nail holes, was great. The paint I've used is Earthborn Lifestyle Emulsion, which went on beautifully and covered super well in two coats. And just two coats on the woodwork too which is particularly great as woodwork often needs three to cover properly.
Oh, and I DID prime the woodwork! I didn't want to if I'm totally honest, but I promised Earthborn that I would, and they sent me their multi-purpose primer along with the paint, so I was duty bound. And it was so quick to do a coat of it after a light sand, and I guess that's why the Eggshell then went on so well and covered the way it did. Yay me for doing the right thing.
I still have to sand, prime and paint her window. I HATE painting window frames, I find it frustrating and so boring, but I want all the woodwork in the same colour as the walls, so it needs to be done. Besides it's not been painted for years, and really needs it.
The colour I've used is called Donkey Ride, and I'm a bit in love with it. It's a very soft warm neutral, that ties in perfectly with the wallpaper. In some lights it looks more grey, in others beige with yellow undertones, and then in the shadows it's more pink based, but it's always a lovely colour no matter which way it's leaning in the different light, and I can't wait to see how it looks once the room is complete.
So the room is almost ready for me to put the wallpaper up when it arrives, and she's also getting some beautiful full length velvet curtains, which she and I are both ridiculously excited about. Then there is a big surprise to come that she doesn't know about yet, that's going to make her squeal with delight, and for that, you'll have to wait and see. Keep an eye out for the room progress in my Instagram stories, and the big reveal right here in a few weeks!
This post is in collaboration with Earthborn and Skirting4u.